How to Activate Your Glutes

Glute Activation.
Yep, you read that right. Today, we’re going to be talking about your butt. *giggles*
Now, don’t go getting all inappropriate on me. There’s only room for one big kid around here, and that’d be yours truly.
Butt on a serious note (see what I did there? PUN INTENDED), most of us have what’s commonly referred to as “sleep bum” syndrome – our glutes don’t work the way they should because we spend most of our day sitting on them.
At a desk at work, studying, driving around in the car, sitting on the couch… it’s killing us. Or at the very least, restricting our bodies from moving at their full potential.
Gluteal inactivation and imbalance is definitely something that I, like many people, have struggled with over the years. I’ve spent a lot of time sitting at desks studying (perpetual student right here!) and my job involves a lot of computer work, so I spend a lot of time sitting.
You’ve got to make sure that you loosen tight muscles and get those muscles that become weak and inactive from sitting activated and working correctly again.
This is why I stretch out my lower back and glutes EVERY. SINGLE. DAY. Because if I don’t, I know my body won’t be too happy with me. And I’m working on doing the glute activation exercises below before every workout, it order to get my muscles working like they should be!
So, jump on board the glute activation train! It will help your body perform at its best, reducing your chance of injury and helping to undo some of the damage we do by how much we sit. All aboard!
Activate Your Glutes!
To help guide us through how to activate our glutes and why we should do it, I’ve got top-gun personal trainer Cori Lefkowith from Redefining Strength on board. She has a great blog that talks through all kinds of different exercises and fitness tips, and she’s sharing some of those with us today.
Which muscles are your glutes?

Your butt is made up of 3 main gluteal muscles – Gluteus Maximus being the biggest and most well known one. The others are the Gluteus Minimus and the Gluteus Medius.
Combined, these muscles not only stabalise your hips in every kind of movement, they also allow you to rotate your hips and legs inwards and outwards, lift your leg in every direction, stand up from sitting or bending over, stand on one leg, and many other functions.
What are Activation Exercises?
Activation exercises are moves designed to get the big muscles of your body activated and working properly. It’s about isolating specific muscles so that you can really focus on building the mind-body connection and get those muscles working properly.
In order to restore proper posture and eliminate these imbalances you need to do activation exercises. By doing these moves, and thinking about the correct muscles working, you can also build your mind-body connection and learn how to recruit these muscles correct during exercise and prevent poor posture when doing other movements.
Activation exercises help to develop the mind-body connection and get the big muscles activated so that the small muscles don’t try to take on a load they can’t handle. They focus on activating the big muscles and restoring proper balance and posture. They aren’t moves done with a lot of weight – they focus on FEELING the correct muscles working. You should even go extra light with these moves until you feel the correct muscles working (not just think the correct muscles are working. Trust me – you’ll feel it!).
If you just go through the motions and don’t focus on the correct muscles working, the activation moves won’t work. But if you take time to use the moves correctly, they make it easier for you to get the big muscles working because they are more isolated, focused movements than many of the moves you’ll do in your workouts.
Why should I activate my glutes?
We run, we squat, but we never think about whether or not our glutes are working. We sort of just ASSUME they are. But because of our modern lifestyle, they often AREN’T working. Because our hips are tight, our glutes are often inactive.
Most of us sit at a desk all day and move around in ways that cause areas of our body to get tight. This tightness and the poor movement patterns and posture that we use throughout the day in turn causes imbalances – weak and underactive big muscles and tight, overactive small muscles. This means other muscles, like our quads, hamstrings, even our low backs, take over.
When you sit (particularly with poor posture), your whole body is in flexion. This flexed posture causes muscle imbalances and inactivity of the big muscles of your back, and your glutes especially. It can also lead to tight hip flexors and a sore lower back.
All of this can contribute to injury and can prevent you from getting the most out of your workouts. Because these small muscles become overactive and the big muscles become underactive, we tend to try to use these weak, small muscles to do work they aren’t really able to handle, which puts us at risk for injury.
Below are some activation moves that may help you move forward toward your goals as well as alleviate and prevent specific aches and pains. And if you sit at a desk all day you definitely need to include some activation exercises in your routine, even if you don’t have aches and pains yet!
How can I activate my glutes?
Half-Kneeling Hip Stretch

I do this stretch as often as possible. It is the perfect way to reverse the effects of sitting and even start to activate your glutes. You can do a few different variations and hit your hips from a couple of different angles and even really stretch out your quad as well.
One HUGE key though to getting this stretch to actually work though is ENGAGING YOUR GLUTE! Too often people do this and don’t ACTUAL extend their hip because they lean forward or simply arch their low back.
If you don’t engage your glute and actually focus on extending your hip, guess what?! You don’t actually unlock your hips and you don’t really reverse all of the effects of sitting!
So no matter which version you pick, make sure to truly engage your glute and extend your hip and not simply your low back. If you are starting out, the version below is a great place to start. From there you can add in the quad stretch by grabbing your back foot or placing it up on a bench.
To do the Basic Half-Kneeling Hip Stretch:
- Start half kneeling on the ground. Flex your back foot and squeeze your glute as you drive your back hip forward. Reach your hand up overhead so that you feel a nice stretch down the hip of the back leg. You can reach both hands up or simply the hand on the side that is back.
- Squeeze the glute of your back leg so that you are actually fully extending your back hip and not simply arching your back. If you just hyperextend your low back, you will just be perpetuating the problem. Make sure you are truly extending your hip.
- Breathe as you hold and reach your hands backward overhead or turn this into a dynamic stretch by releasing and then repeating the stretch.
- You can also reach your arms to the side over your front leg if you want to hit your hip from a different angle and stretch your TFL and even the muscles of your back that help you bend to the side.
Glute Bridge

This basic Glute Bridge is a must-do move. By doing the Glute Bridge, not only do we stretch our hips, but we activate our glutes to prevent injury and help ourselves get stronger.
You can do the Basic Glute Bridge as a hold or for repetitions. To do the basic glute bridge for reps:
- Bend your knees and place your feet flat on the ground just close enough that you can graze your heels with your fingertips when you stretch your arms down by your side. Your feet should be about hip-width apart.
- If your hips are tighter, you may need to place your feet further from your glutes. Play around with the exact positioning just make sure that when you bridge up, you feel your glutes working and not your low back or hamstrings taking over.
- Bend your elbows to 90 degrees so that only your upper arms are on the ground.
- Then bridge up, squeezing your glutes as you drive through your heels and upper back to lift your butt up off the ground. Drive your hips up as high as possible, squeezing the glutes hard. Keep your belly button drawn in so you don’t hyperextend your back. Focus on engaging your glutes and consciously squeeze your glutes at the top.
- Do not push backward off your heels. Make sure you are driving straight up and that your knees aren’t caving in or falling open.
- Squeeze your glutes for second or two at the top and lower all the way back down to the ground before repeating.
Frog Bridges

If you really struggle to feel your glutes working when you lift and are having a hard time developing a mind-body connection, you may want to try the Frog Bridge. This move will open up your hips and activate your glutes.
It is often easier for people to isolate and feel the Frog Bridge only in their glutes unlike some of the other bridges where they may feel their hamstrings or low back take over. The Frog Bridge is great for activation because of the open position of your knees during the bridge and the fact that you can really drive down through your upper back and elbows to keep yourself from pushing backward.
To do the Frog Bridge:
- Place the bottom of your feet together and bend your knees as if doing the butterfly stretch. The closer you bring your feet in toward your crotch, the more mobility you need to do the move. Find a comfortable placement and allow your knees to fall open.
- Lie on your back on the ground with the outside of your feet down. Straighten your arms down by your sides then bend your elbows to 90 degrees so that only your upper arms are against the ground.
- Driving through your upper arms and the outsides of your feet, bridge up while keeping your knees open. Squeeze your glutes as you lift and pause at the top.
- Then lower back down. Keep your core engaged and really drive down through your upper arms so that you don’t push yourself backward. Do not let your knees close. Keep them relaxed and open.
- Concentrate on your glutes working to lift. Make sure to pause and engage your glutes at the top.
- If you feel your hips too much, don’t bring your heels in as close to your body.
3-Way Hip Circles

The 3-Way Hip Circles are an important glute activation exercise – not only do they target all three gluteal muscles, but they also open up your hips and even activate your core to help protect your low back.
It is very important that you keep your abs braced and focus on your glutes working to raise your leg. You want to extend from your hip, especially when you kick back. If you instead arch your back or use your hamstrings to do the moves, or even simply bend your arms and lean away with the Fire Hydrant portion, you won’t actually activate your glutes even if you are performing the movements.
To get your glutes to work, you’ve got to concentrate on them during the movements and not just go through the motions.
To do the 3-Way Hip Circles:
- Start on your hands and knees with your knees under your hips and your hands about under your shoulders. Flex your feet and brace your abs.
- Keeping your arms straight, kick one leg back, driving the heel up toward the ceiling. Keep the knee bent as you drive the heel back and up. Squeeze your glute to kick the leg back. Do not hyperextend your low back or rotate your hips open to try to drive higher. Also, make sure your hamstring isn’t taking over. Extend your hip and squeeze your glute to kick back.
- Hold there for a second. Make sure to keep your arms straight and concentrate on squeezing your glutes.
- Then, without lowering the leg down, bring the leg up to the side into the Fire Hydrant position. Keep your foot flexed and knee bent to 90 degrees. Do not bend your arms or lean away as you raise the leg out to the side. Also, do not let your knee or foot get higher than the other. When you raise your leg up to the side, you want your lower leg to be even and as close to parallel to the ground as possible. Feel the outside of your hip work to lift.
- Hold there for a second and feel your glute working to hold the leg up.
- Without touching the knee down, drive the knee forward toward your elbow. Feel your abs engage as you hold. Really feel your abs work to pull the knee in. Do not tuck your chin as you pull the knee in. Also, do not simply go through the motions and tuck your knee in. Use your abs to pull it in and keep them engaged as you hold.
- Hold there for a second then repeat on the same side starting with the kick back.
Mini Band Walks
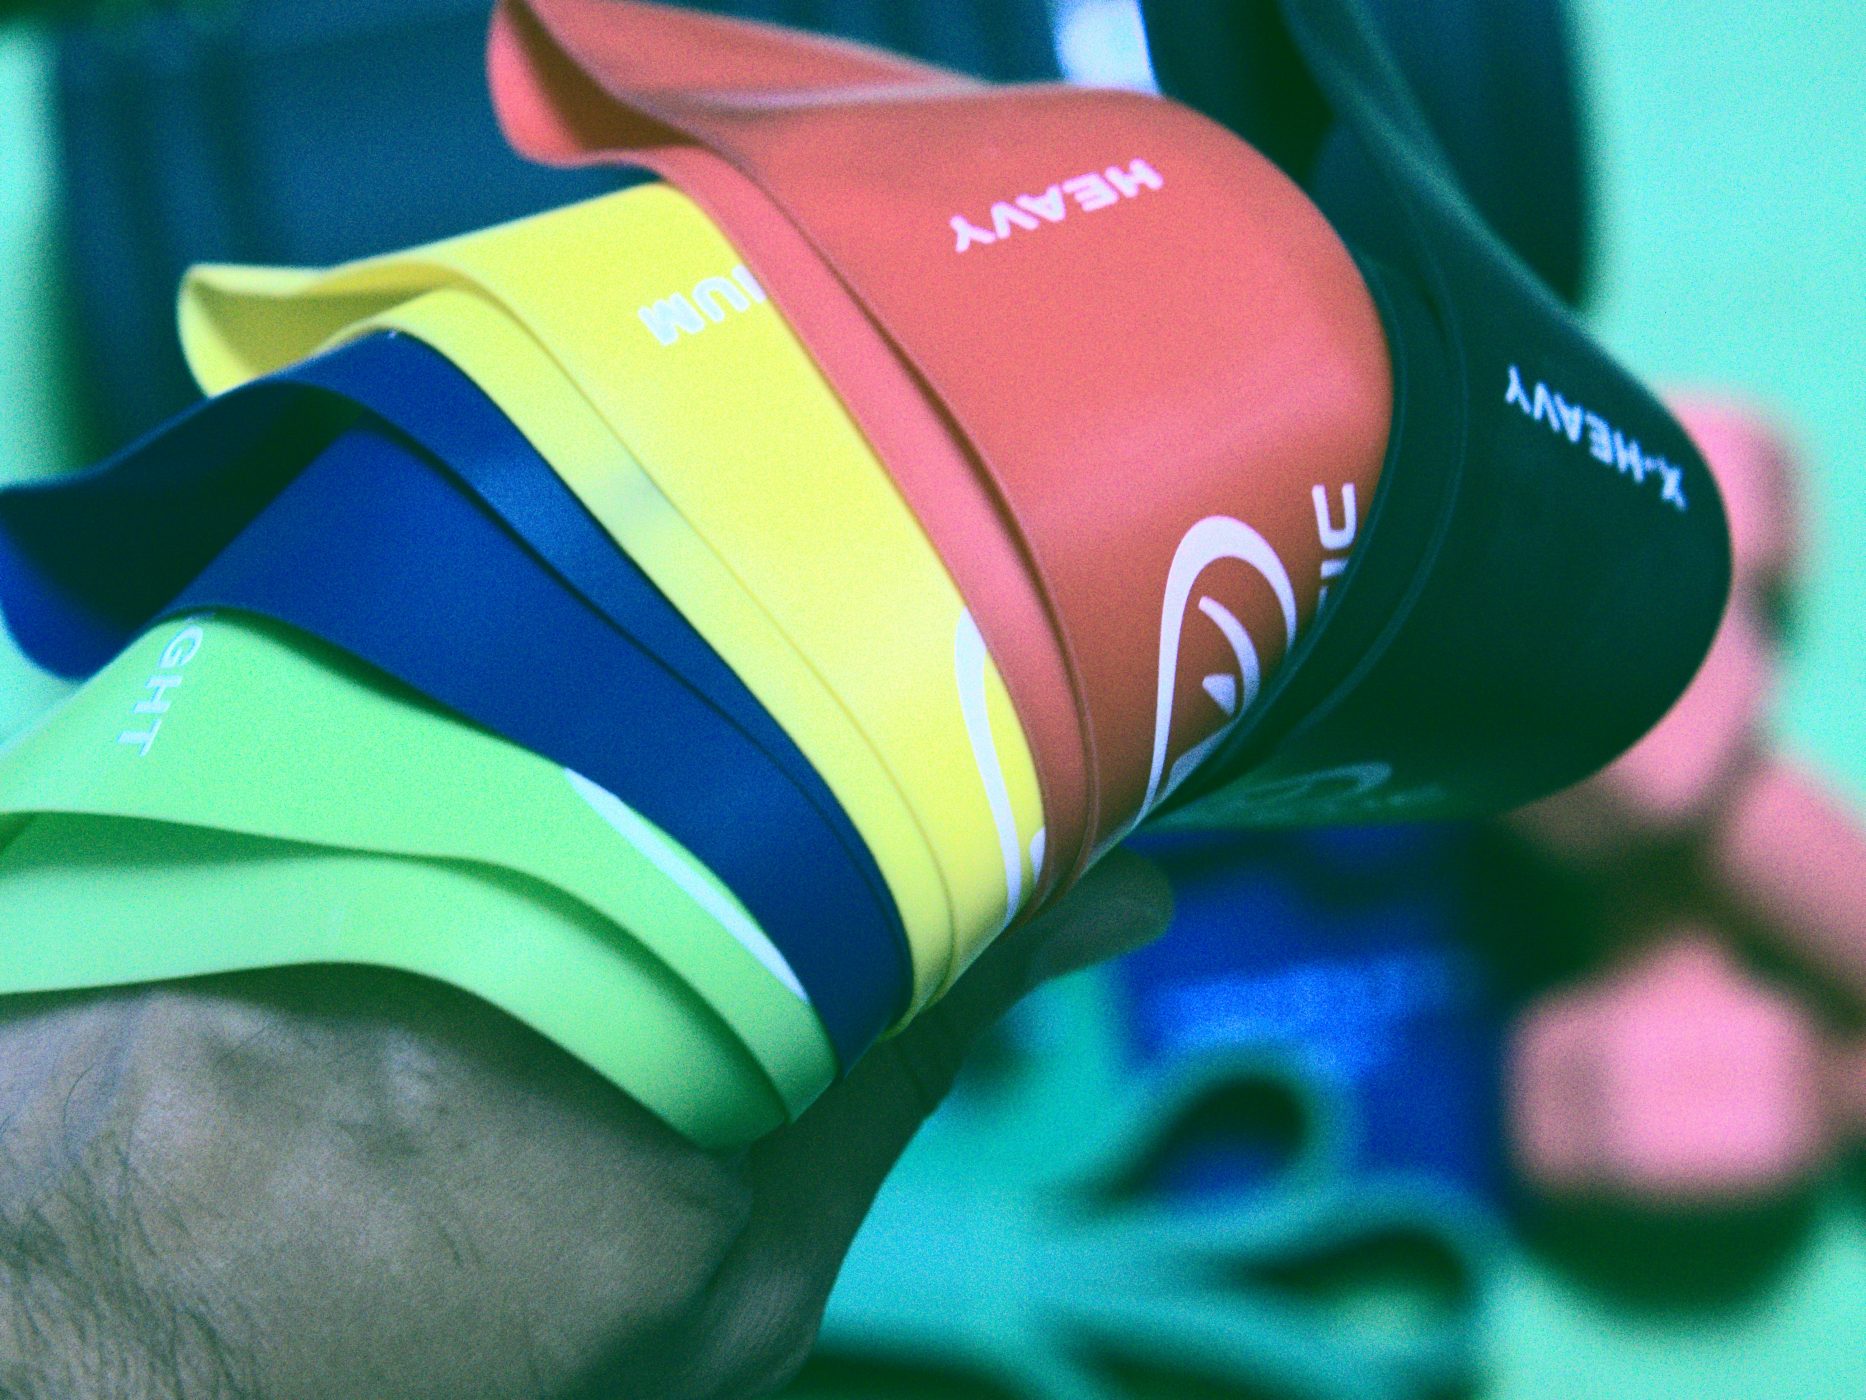
Mini Band Walks are a great way to get your glute medius and minimus working and firing, which are two muscles very involved in stabilizing our hips. Plus activating the glute medius generally helps us activate the upper fibers of the glute maximus when we lift.
However, it is very easy once we add resistance to start letting other muscles take over, especially as we fatigue. When you do these Walks, make sure that your glutes are working and that the muscles at the front of your hips aren’t taking over.
There are two Mini Band Walks that you should include in your workout routine:
Mini Band Side Shuffle

To do the Mini Band Side Shuffle:
- Place the band around both ankles. If you place the band up higher toward your knee or even right above your knee, the move will be easier. If you place it around your ankles, or even your feet, the move will be more difficult. Choose a place that allows you to take large steps and feel your glute working and not other muscles taking over.
- Step your feet about hip-width apart to start so that there is tension on the band. Bend your knees slightly and push your butt back (you can also choose to do a straight leg variation). Your toes should both be pointing straight forward and your feet should be parallel.
- Then step laterally with one foot, stepping as wide apart as you can. Make sure that as you side shuffle, you lead with your heel and don’t open your front toe out. Step the other foot back in, but not so close that there isn’t still tension. You always want tension on the band.
- Step again with the same foot. Do not drag the back foot when you step back in. Also, try not to rock as you shuffle.
- Do not rush this move, but instead take big precise steps and feel your glutes working. If your knees cave in or you start to feel other muscles taking over, move the band up your legs or choose a lighter resistance. Doing this move with your knees caving in will perpetuate bad movement patterns and won’t activate your glutes.
Mini Band Monster Walk

To do the Mini Band Monster Walk:
- Place the band around both ankles. Like with the Side Shuffle, the higher up your leg you put the band, the easier the move will be, which means it will be easier to isolate your glutes if you are struggling to feel them work. Choose a place that allows you to take large steps and feel your glute working and not other muscles taking over.
- Then step your feet out about shoulder-width apart so there is lots of tension in the band. Keeping tension in the band, step forward and out to the side with one foot.
- Then step forward and out to the other side with the other foot. You want to take big “monster” steps, keeping your feet as wide apart as you can while moving forward.
- Then walk backward in the same manner. Step back and out with each foot, keeping tension on the band. Do not wiggle your hips open as you walk back or swing your leg around to help you walk forward. Step forward and backward to walk.
- You can also do either a low monster walk (more of a squat) or a straight leg variation. Try not to waddle or rotate your hips though as you walk. If you can’t control the move and you don’t feel your glutes working, use a lighter band or place it higher up on your legs. Also, make sure your knees don’t cave in as you walk!
Side Plank Clam

Part of being able to get your glutes activated and working is also dependent on you being able to engage your core to protect your low back so that you can focus on your glutes. This move not only strengthens your glute medius, but also your entire core. It works everything from your shoulders to your knees. And boy does it burn!
It is not only a great move to get your glutes activated before you workout but also a great move to build your hip stability so that you are at less risk for injury.
To do the Side Plank Clam:
- Lie on your side propped up on your forearm with your elbow underneath your shoulder. Bend your knees so that your feet and lower legs are behind you. You can place your top hand on your hip or reach it up toward the ceiling, but don’t touch it down to the ground.
- With your legs stacked, lift your hip up off the ground, driving through your knee and forearm. As you lift your hips up, lift your top leg up and toward the ceiling, keeping the knee bent. Open up as high as you can then lower the leg back down.
- As you lower the leg back down, lower your hip back down to the ground.
- Repeat, lifting up and, as you do, raise your top leg up toward the ceiling.
- Complete all reps on one side before switching. Make sure you are lifting straight up and not rotating toward the ground or open toward the ceiling. Also keep your elbow under your shoulder and do not get too spread out.
- When you lift the top leg, don’t rotate open as you do. Really focus on lifting with your glute.
What do you think? Let me know in the comments below, or in the comments for this post on Facebook!
If you think other people might find this useful, please share it around through social media or by using the buttons below Sign up for the newsletter to get new posts delivered straight to your inbox, and follow me on Facebook, Instagram and Pinterest for extra tips, tricks and behind the scenes banter!
Parts of this post are from Redefining Strength and are reproduced here with full permission. You can see the original article here.


You must be logged in to post a comment.