How to nail that fitness test

Guys. We need to talk. It’s coming up to that time of year. The time when, you know, that thing happens soon. You know what I’m talking about. DON’T MAKE ME SAY IT.
Fitness testing.
Yeah. I heard that collective groan. I feel your pain.
New seasons are starting, indoor is moving back to outdoor, and FIH fitness test results are due soon for some international umpires.
Hopefully you’ve had a great break and hopefully you’ve also managed to maintain at least a base level of fitness through indoor or preseason. If not, you might want to get cracking! But never fear, you’ve got a bit of time to increase your fitness. And even if you’re at peak fitness levels, converting this to a great test score isn’t always straightforward.
So, in this post we’re going to talk about how you can absolutely NAIL your up coming fitness test!
Yep. YOU. Nailing your fitness test. Sounds good, huh?! Let’s get to it.
Some of the links to products in this post might be affiliate links – this means that if you purchase a product that you’ve navigated to from this site, at no additional cost to you I earn a small commission. I only ever recommend products I’ve used and love and your support helps me buy enough tea to keep this blog going! So thank you for your support 🙂 You can read the full Disclosure and Affiliate Policies here.
How to nail that fitness test
-
Base level fitness
First things first. To get a great fitness test score, you need to start with a base line fitness level. If you’ve maintained a good base level over the break, great! Move on to step 2. If not, I think it’s probably time to crack out the running shoes. I suggest starting with some cardio – a mixture of easy runs and some interval work. Farlek training is great for increasing fitness in a way that is practical for umpiring by including some efforts in your run. I also think social sport is a fun way to improve your fitness, or maybe some fitness classes at the gym if that’s your kind of thing.
-
Next level: ramp it up
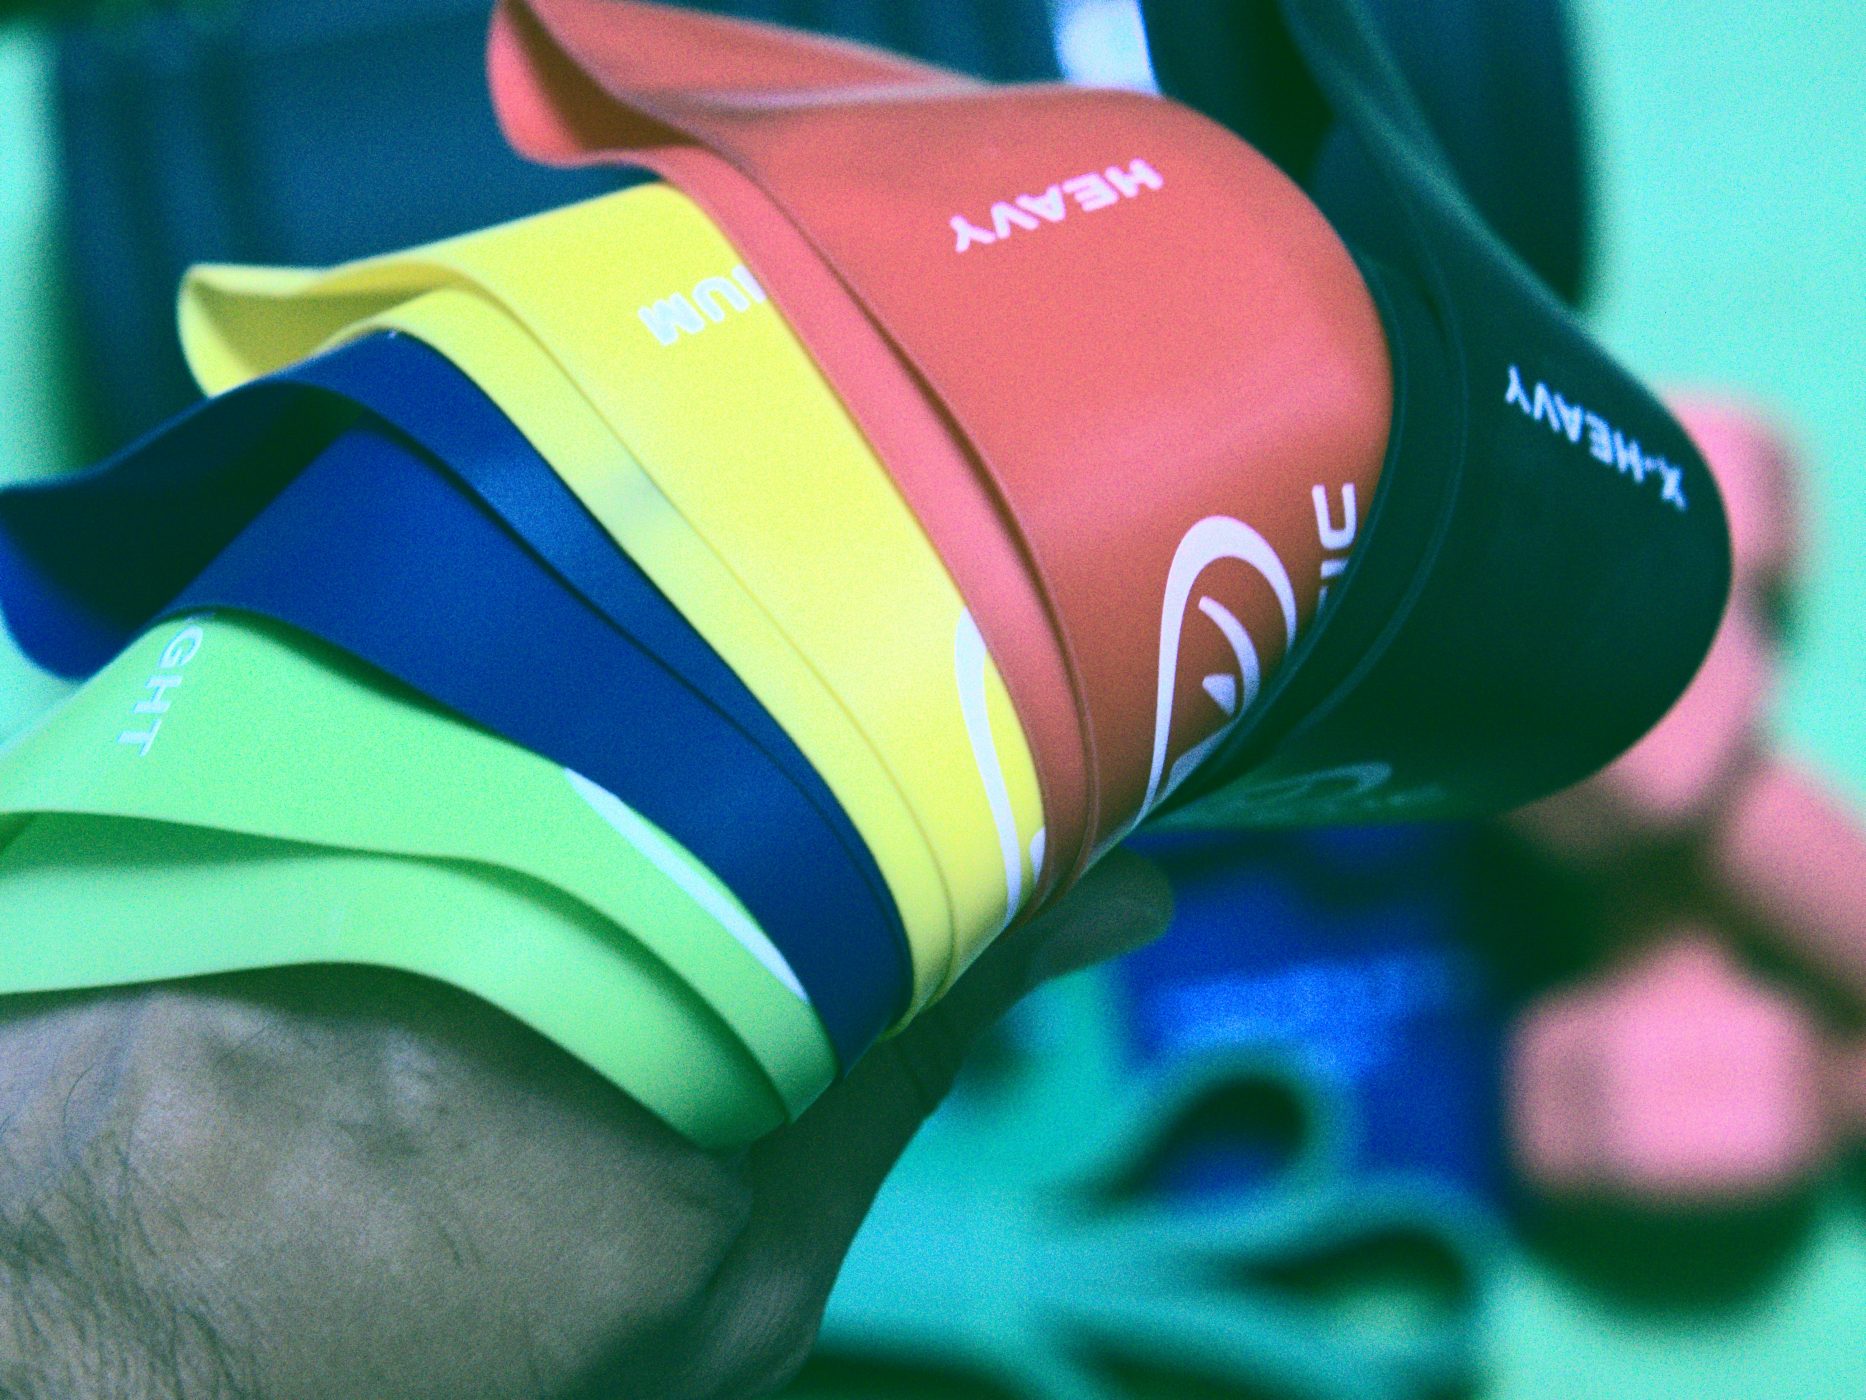
Once you’ve got a good base level of fitness, it’s time to turn up the heat! I’ve found including some interval and effort training really helps to take your fitness to the next level. Fartlek running and high intensity interval training (HIIT) are my favourite ways to include extra efforts. But just be careful not to overdo it – a maximum of 3 times per week allows your muscles to recover in between sessions so that you really get the most out of it and don’t open yourself up to injury. I do some easier cardio work or light running in between, or some strength work, which helps to prevent injury. I also include some power and agility work in there somewhere to help with moving around the field and circle quickly – and it also helps with the turns and speed in your fitness test!

-
Train for your fitness test
There’s only one way to translate your real-life fitness into a good test score and that’s to train for your test! I recommend you do the test multiple times before testing day – this will let you know the pace that you need to set throughout the test and also gives you a good handle on where you are at in your training. I also find it takes the anxiety out of the test on the day, as you already know what to expect!
Training for your test depends on what type of test you’ll be doing. There are a few different commonly used tests, which I’ve listed below. The FIH has recently switched to the Yo-Yo as their preferred test and as a result many national and local associations have followed suit.
I’ve included the minimum test scores required by the FIH below as a guide. Please also check with your own association for their requirements for your level. Also, you should perform fitness tests to your maximum level – if you can keep going past the requirement, that’s awesome! Show ‘em what you’ve got. Go you good thing!
Yo-Yo test

The (relatively) new kid on the block. This is kind of similar to the beep test, but you need 3 markers instead. Two are set 20m apart and the third is set another 5m away. You start on the middle marker, run out to the furthest one at the starting beep and have to make it back by the end beep. You walk around the cone 5m away for recovery until the next beep when you go again. The higher the level, the faster you have to run (and the harder it gets). The starting pace of this test surprised me a little the first time, as you are used to starting slow with the beep test, so if you haven’t done this test before it’s particularly important to practice it at least once beforehand to get used to the timing! I actually much prefer this test over the beep test 🙂
There are a few different versions of this test floating around with slightly different timing. The FIH requires the use of the Youtube version to make sure everyone is logging standardised results.
FIH minimum requirement:

Beep test (bleep test)

Ahh, the old beep test. 20m shuttle runs that start at a slow speed (almost walking pace) and progressively get faster with each level. You need to make the line at the other end before the beep, and once you miss two beeps in a row you’re out. Similar to the Yo-Yo above, but without the break between shuttles. It’s super important to practice this one beforehand to get used to the timing of each level so that you know how much to increase your speed every time. And getting the turn right is also very important at the higher levels so you can save valuable time and energy. Here is a great video on how to nail those turns.
 Coopers test (12 minute run)
This is a much better test if you have trouble turning. For this test you need to be able to measure the distance you’ve run in 12 minutes. A GPS watch comes in super handy for this, and I find Garmin have the best watches on the block, but otherwise a marked running track, 400m athletics track or similar can do the job. Practice this one to work out a steady running pace – don’t go so hard that you have to walk halfway through, but try not to leave too much in the tank either! It’s a fine balance and one that takes practice to get right.
1 km or 2 km time trial
Time trials are pretty easy to set up (if not necessarily to execute!). All you need is a track marked out to 1 or 2 kilometres and a stopwatch. I recommend using a marked running trail or a 400m athletic track for accurate distance measurements, but a GPS watch also comes in handy here too. You should also try to practice the test on a similar surface to what the test will be conducted on (grass, track, pavement).
The goal is simple – run 1 or 2 km as fast as you can. But, I advise you to pace yourself so that you don’t burn out too early and end up extending your time because you have to slow down. I highly recommend doing some shorter, faster runs in preparation for this test to build up your speed, then practising this test multiple times so that you can find the best pace to run at. There is some great training advice here. It’s for bike time trials but the same advice can be used for running tests.
So, pick your poison and let’s get training! Best of luck with your test!
How is your preseason training going? What fitness test will you be doing for the coming season? And how do you think you’ll go? Let me know in the comments below!
If you liked this post, why not share it using the buttons below? There’s also more fitness stuff on the Fitness page, including nutrition advice on how to best fuel yourself for your games or how to include high intensity interval training into your fitness.
You can make sure you never miss a post by signing up to the newsletter. Don’t worry, I value your inbox just as much as my own and I promise never to spam you! And for behind the scenes action and extra tips and tricks, follow me on Facebook and Instagram.


You must be logged in to post a comment.